

In short: Colour bars and the PLUGE pattern set a monitor's brightness and colour before you grade or check a picture. The standard SMPTE bars use seven bars at 75% intensity with a 100% white reference. Put the bars at the head of a file only when the client asks for them, and always set the monitor before you judge the picture on it.
Colour bars are the test picture that never goes out of date. They give a known set of colours and a white reference on screen, so you can check a monitor, a camera or a file against something that does not change. They are a tool for setting up, not a picture to grade against.
What the standard bars contain
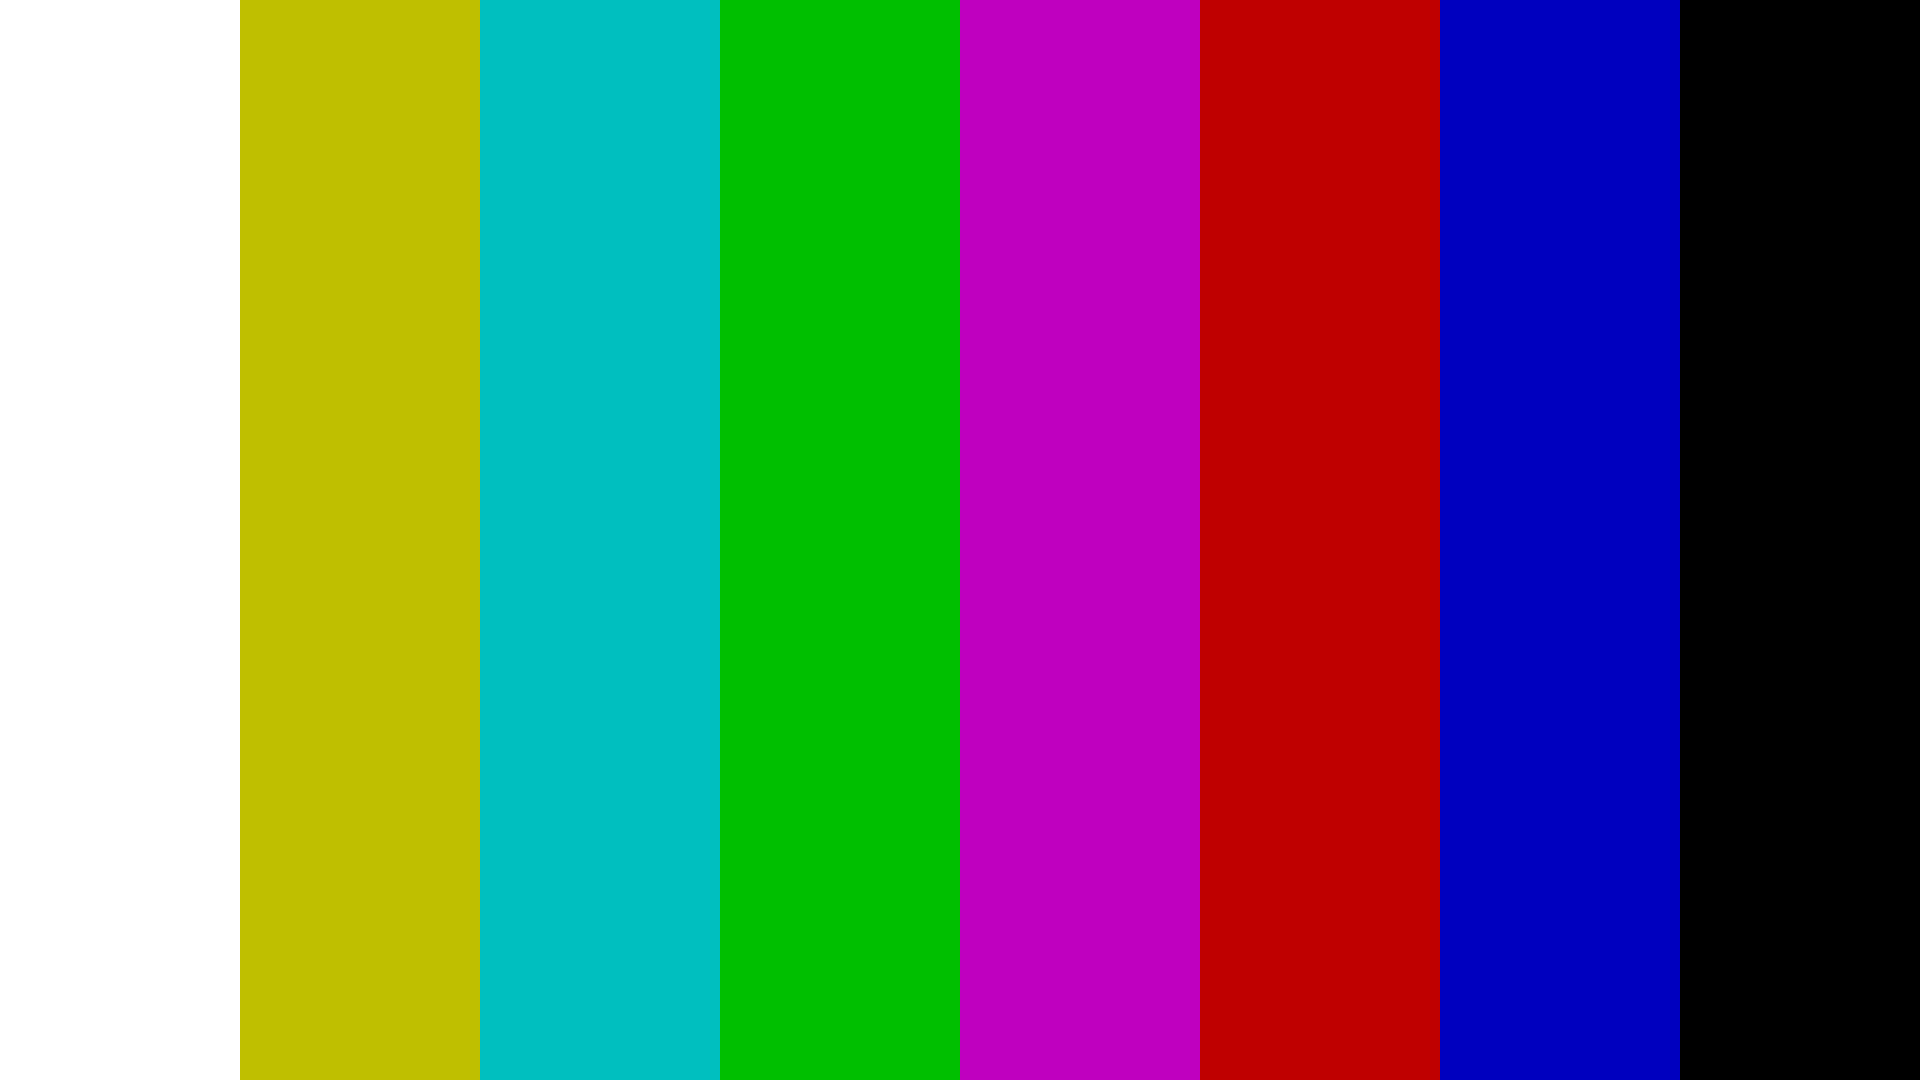
The SMPTE bars have seven vertical bars at 75% intensity across the top two-thirds of the picture: white or grey, yellow, cyan, green, magenta, red and blue. Below them is a strip of blue, magenta, cyan and white or grey blocks used to set the colour controls. The white reference is a 100% white square under the yellow and cyan bars.
The PLUGE pattern sits in a black box at the bottom of the picture. It has three bars: one just below black, one exactly at black, and one just above black. It sets the bottom of the brightness range, so the blacks in your picture are neither grey nor crushed.
A 100% version of the bars uses fully saturated colours and 100% white. Some chains and broadcasters ask for it instead of the 75% bars, so check which one the spec names.
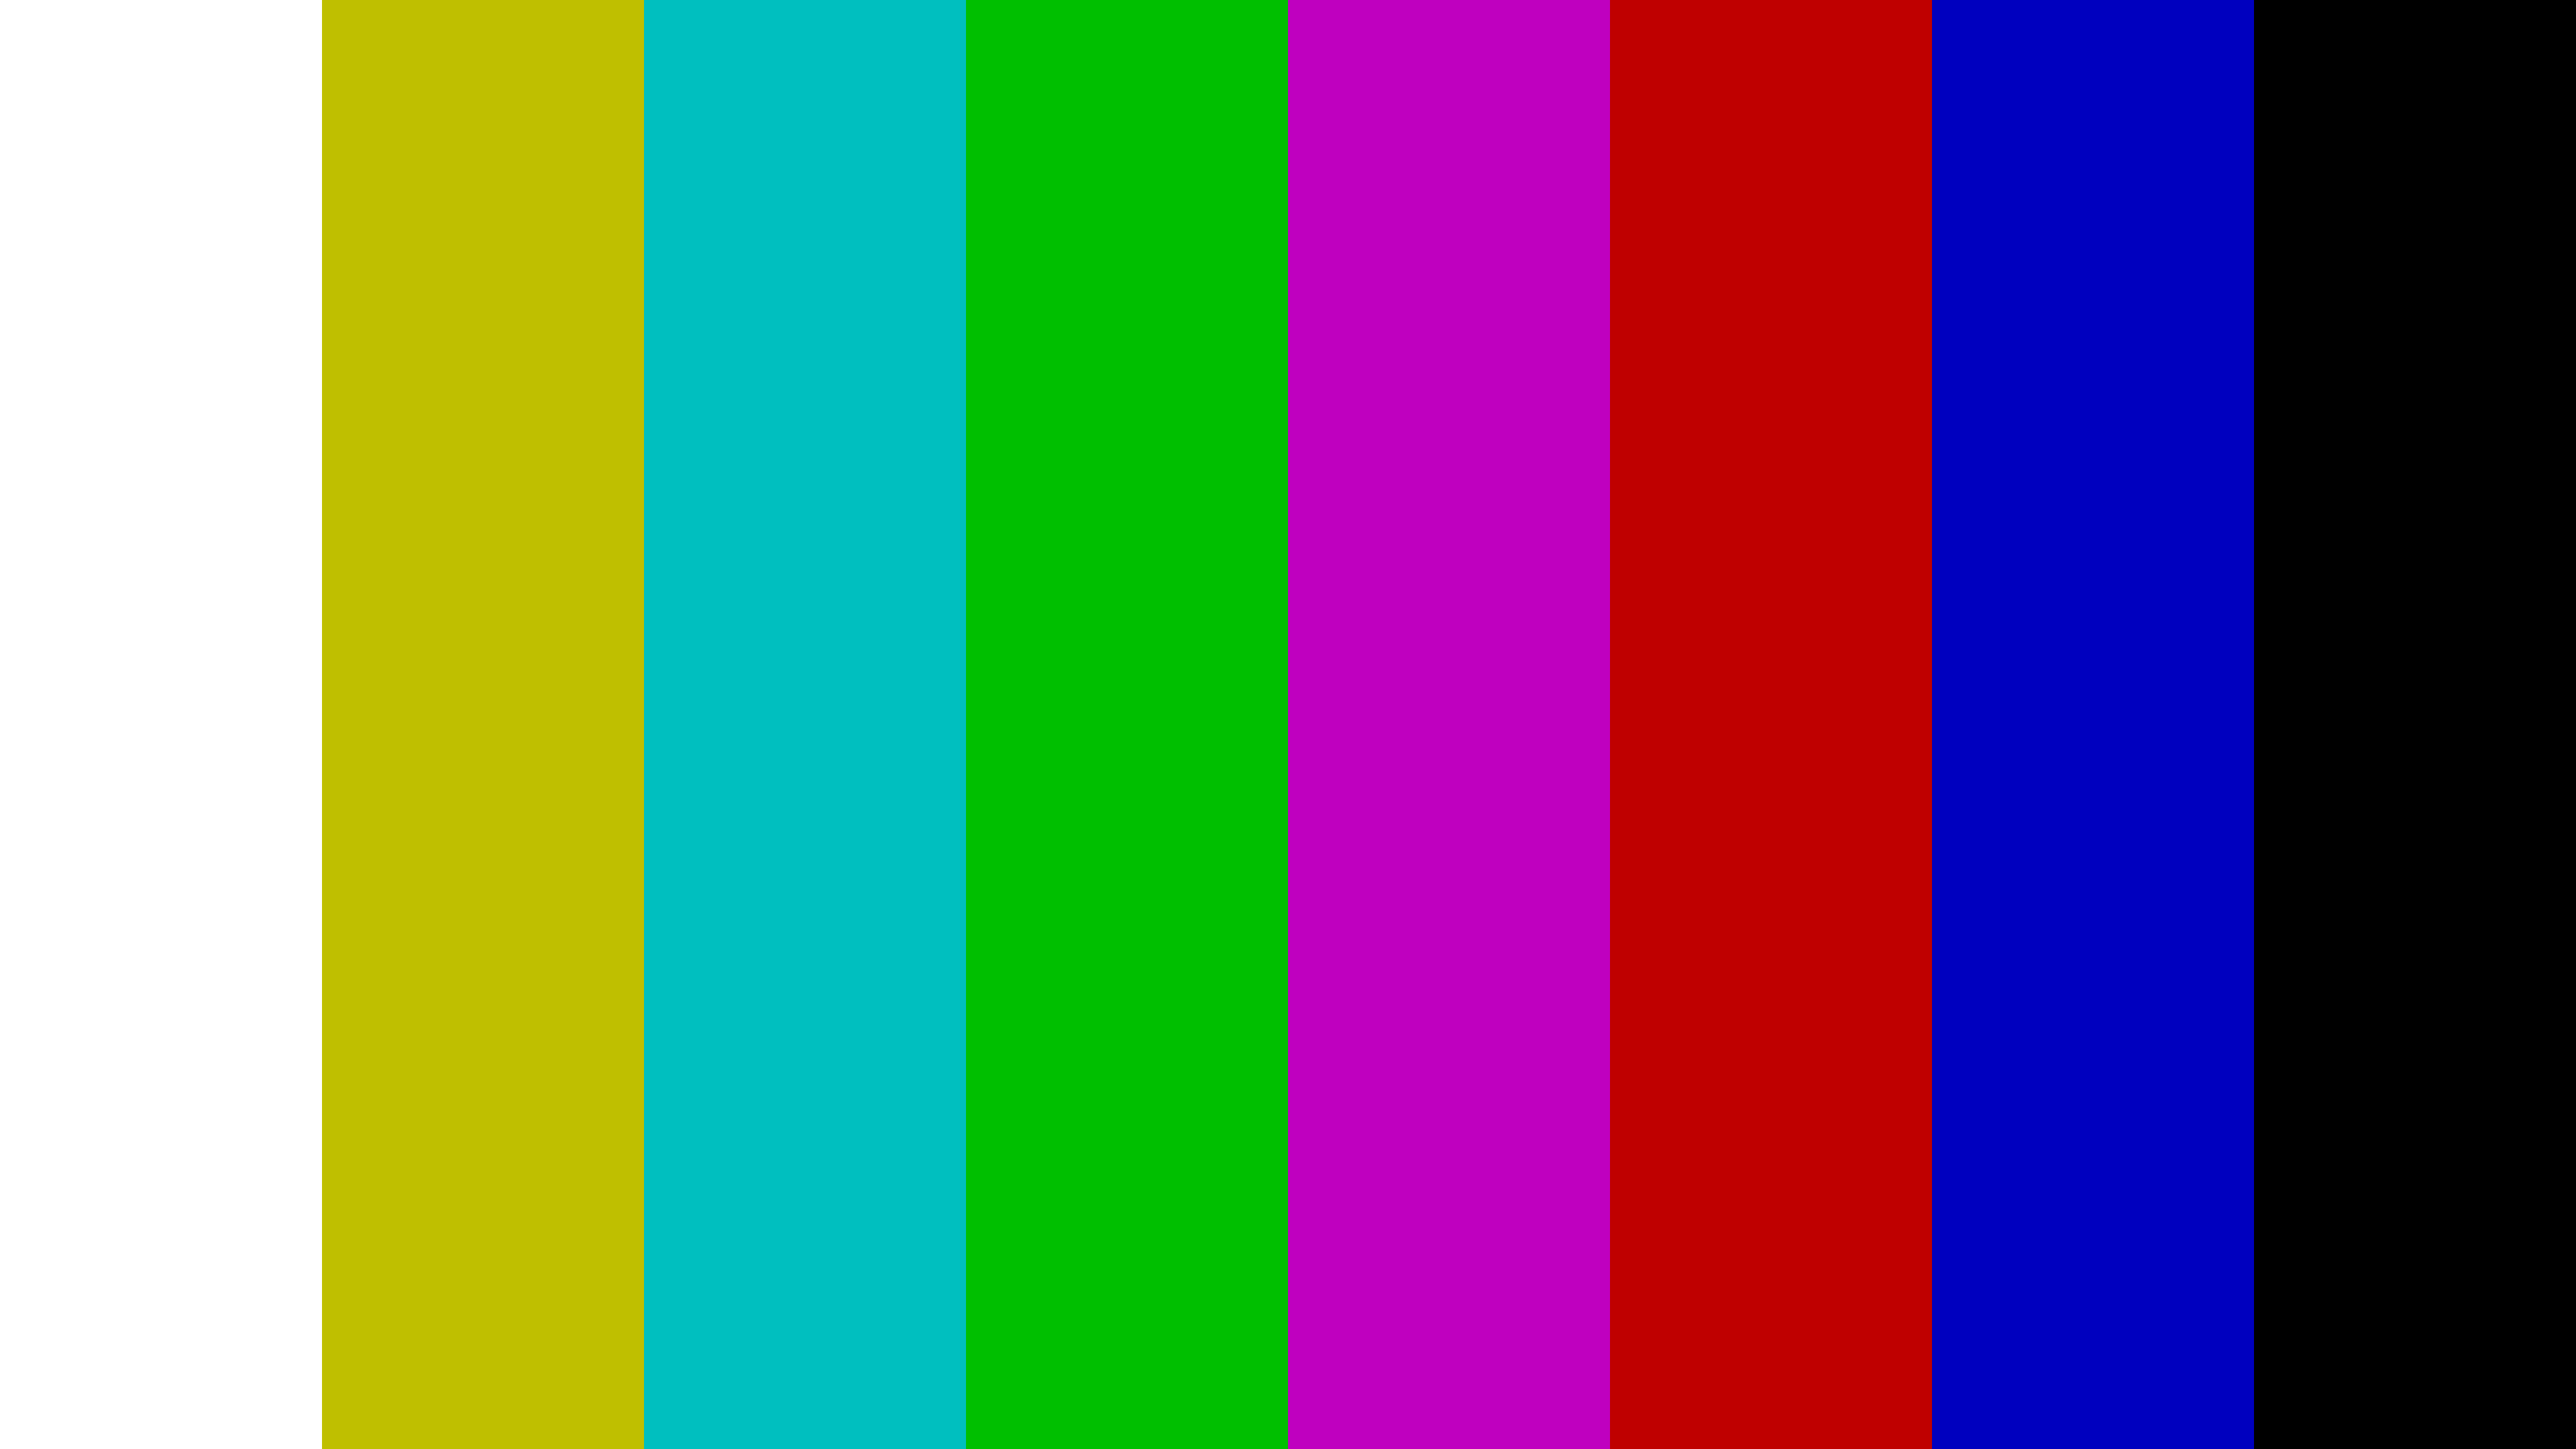
The free download holds five files: EBU colour bars (100% white with 75% colours, the 100/0/75/0 pattern, hence the 75 in the file names) as PNG pictures at 1920 by 1080 and 3840 by 2160, an 11-step greyscale, a smooth greyscale ramp, and a 20 second SMPTE HD bars clip at 1080p25 with a 1 kHz tone. The SMPTE HD clip is the one with the PLUGE strip along the bottom, so use it for the monitor set-up described below. The EBU bars and the greyscales are for checking colour and tone.


Setting a monitor, step by step
- Turn off any picture settings that change the image, such as dynamic contrast or sharpening.
- Play the bars full screen, with the picture size set so the edges are not cut off.
- Set the brightness using the PLUGE. Turn it up until the right-hand bar is just visible, and down until the two left-hand bars look the same.
- Check the colour bars. Each of the seven bars should look like its name, with no obvious tint.
- Note the settings on the monitor, and set the same on the next day.
Worked example
A colourist starts the day on a new monitor. The PLUGE shows the left-hand bars as different shades, so the brightness drops until they match, and the right-hand bar comes back into view just above black. The grade that follows is made on a monitor that shows black as black, and the same settings are used again the next morning.
Common mistakes
- Grading against the bars. The bars are for setting the monitor. The grade is judged on the picture.
- Skipping the monitor set-up. A monitor left at its default settings will mislead every decision after it.
- Using the wrong version of the bars. Check whether the spec asks for 75% or 100% bars.
- Cropping the edges. Scaling a file can hide the outer bars.
- Leaving bars in the delivery file by accident. Add them only when the client asks, and check the spec.
The delivery specs cheat sheet lists the other file checks that go with bars, and the lighting colour temperature guide covers colour on set. The audio test pack is the sound equivalent, and the edit workflow shows where colour checks sit in the order of work.
Sources
- Wikipedia, SMPTE bars, read 5 November 2026
Related guides
- Edit workflow: proxies, conform, delivery
- Delivery specs cheat sheet for broadcast and online
- Lower thirds and title-safe templates
- Credits order worksheet (UK)
- Subtitles and captions: styles and file formats
- All guides and tools
The picture at the top of this page is an illustration, not a photograph of a client or a real job.
Questions we get asked
What are colour bars used for?
Colour bars give a known set of colours and a white reference, so you can check that a monitor or a camera reproduces them correctly. They are not a picture to judge a grade on.
What is the PLUGE pattern?
PLUGE is a small black box with three vertical bars just above and below black. Set the monitor brightness until the right-hand bar is just visible and the two left-hand bars look the same, so blacks neither wash out nor crush.
Should I put colour bars at the start of a file?
Only if the client asks. Some broadcasters want bars and tone at the head of a programme. If the spec does not mention them, check with the client before adding them.
granary.digital · 01243 884993 · studio@granary.digital · The Old Grainstore, Adsdean, Chichester, West Sussex, PO18 9DN · Prices exclude VAT unless marked inc VAT